The Google Image License feature reads metadata in your image file. These metadata are WebStatement, Licensor and Licensor URL. However Capture One Pro does not support these yet. I will show you step by step how to set Licensor, LicensorURL and WebStatement for Google Image License in Capture One Pro.
You can add the metadata Licensor, LicensorURL and WebStatement in Capture One Pro. In the Export menu, you will select a program in the ‘Open with’ field. This program will add the metadata just after the file export. It is based upon Phil Harvey’s exiftool. I will help you step-by-step to build this program in this post.
In this post, I will concentrate on how to practically insert the 2 metadata Licensor URL and WebStatement in Capture One :
- YourLisensorURL
- YourWebStatement
I wrote about Google Image Licence in another article you’ll find here.
You can also read Google specifications for this feature in their document Image License Metadata in Google Images (BETA).
I am working with Windows 10. I will give you details regarding this system environment. So I’m not addressing iOS or Linux. However, you will be easily able to transcribe the following method for these operating systems.
I will use sample directory names for this tutorial. You can of course use your own.
This article is a 4-steps tutorial :
- Install Exiftool
- Create a Dos Command
- Create an Executable Program (.exe)
- Call the .exe Program from Capture One Pro
We will then go on with :
Let’s jump into it with our first step.
Install Exiftool
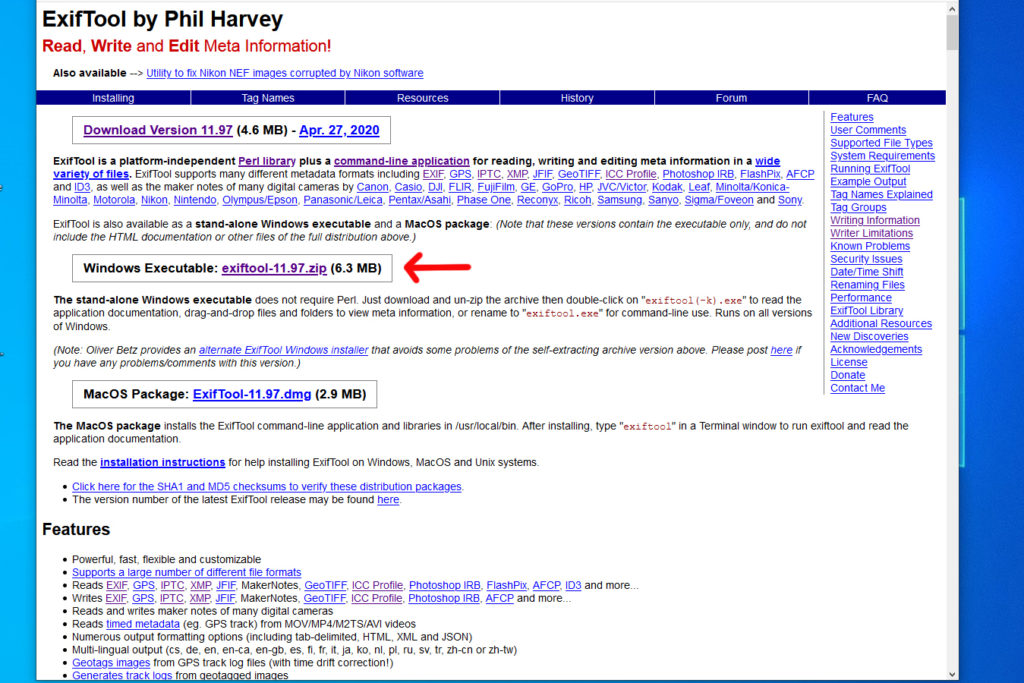
Download Windows Executable for ExifTool by Phil Harvey in G:\C1MetadataProgram.
Be carefull to download the Windows Executable and not the Full Perl Distribution.
You will have G:\C1MetadataProgram\exiftool-11.97.zip
Extract the archive. This will create a file :
G:\C1MetadataProgram\exiftool(-k).exe
Rename exiftool(-k) to exiftool.exe
For this example, exiftool will be in : G:\C1MetadataProgram\Image-ExifTool-11.97.
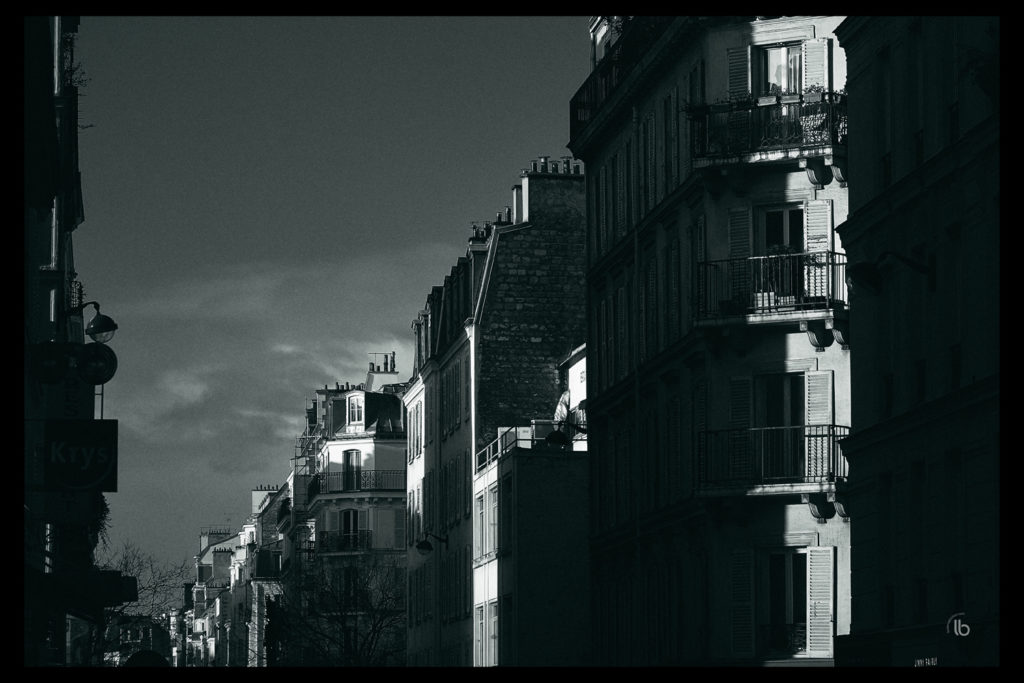
In order to test the different steps, you’ll need a sample image. Let’s say it’s G:\C1MetadataProgram\paris-by-laurence-bichon.jpg.
You can now test your exiftool installation on this image and read the metadata of this file. Open a cmd window :
set PATH=G:\C1MetadataProgram;%PATH%

exiftool -k -a -u -g1 G:\C1MetadataProgram\paris-by-laurence-bichon.jpg
The result looks like :
---- ExifTool ----
ExifTool Version Number         : 11.97
---- System ----
File Name                       : paris-by-laurence-bichon.jpg
Directory                       : G:/C1MetadataProgram
File Size                       : 883 kB
File Modification Date/Time     : 2020:03:31 11:10:56+02:00
File Access Date/Time           : 2020:04:29 11:04:07+02:00
File Creation Date/Time         : 2020:04:29 11:04:07+02:00
File Permissions                : rw-rw-rw-
...
Press enter to get back to the Cmd line.
Exiftool is now installed.
Create a Dos Command
We will now create a Microsoft DOS command that will call Exiftool with the right syntax for Licensor, LicensorURL and WebStatement.
We could do it with Wordpad. However, we will have to create a program (.exe file) from this batch command in the next step. So I will create the batch directly in the software we’ll use also for the program creation.
Download the free version of Advanced BAT to EXE Converter. This software will compile your batch files to .EXE.
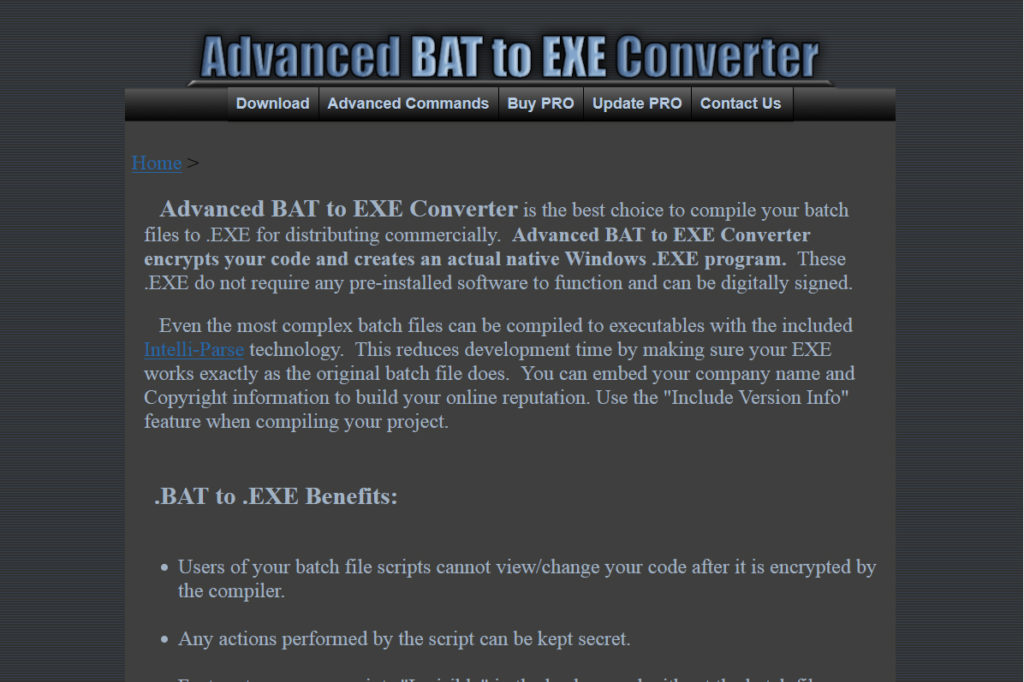
Install battoexeconverter.
Start the application “Advanced BAT to EXE Converter”.
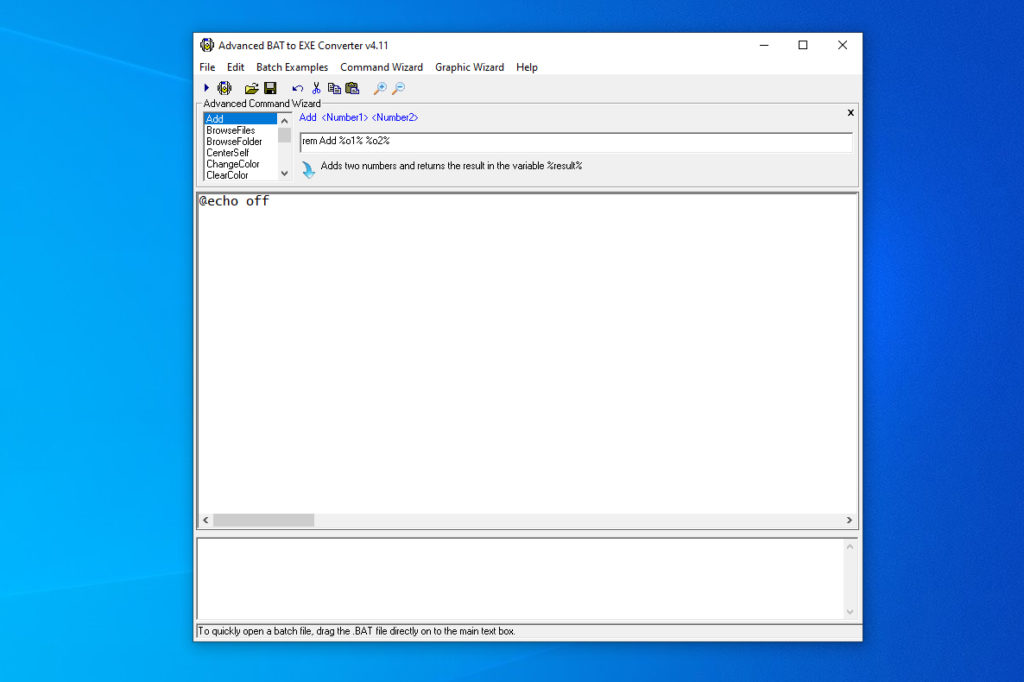
Type in the following DOS commands :
set PATH=G:\C1MetadataProgram;%PATH%

exiftool -xmp-plus:licensor="{LicensorName=|YourLicensorName,LicensorURL=|YourLicensorURL}" -xmp-xmpRights:WebStatement="YourWebStatement" %1
This bat file expects one parameter which is the name of the image we will apply the Google Image Licensing metadata to : %1.
With this batch, I only set
- only one Licensor structure. There could be theoriticaly several licensors.
- only the LicensorName and LicensorURL properties, the other properties of the structure will be blank.
- if there was a previous Licensor structure in the JPEG, it is reseted.
- These choices are mine. You can do differently with Exiftool of course.
| Licensor Structure | |
| LicensorCity | String |
| LicensorCountry | String |
| LicensorEmail | String |
| LicensorExtendedAddress | String |
| LicensorID | String |
| LicensorName | String |
| LicensorPostalCode | String |
| LicensorRegion | String |
| LicensorStreetAddress | String |
| LicensorTelephone1 | String |
| LicensorTelephone2 | String |
| LicensorTelephoneType1 | String cell = Cell fax = FAX home = Home pager = Pager work = Work |
| LicensorTelephoneType2 | String cell = Cell fax = FAX home = Home pager = Pager work = Work |
| LicensorURL | String |
Save this command file in G:\C1MetadataProgram\MyC1Program.bat
Create an Executable Program (.exe)
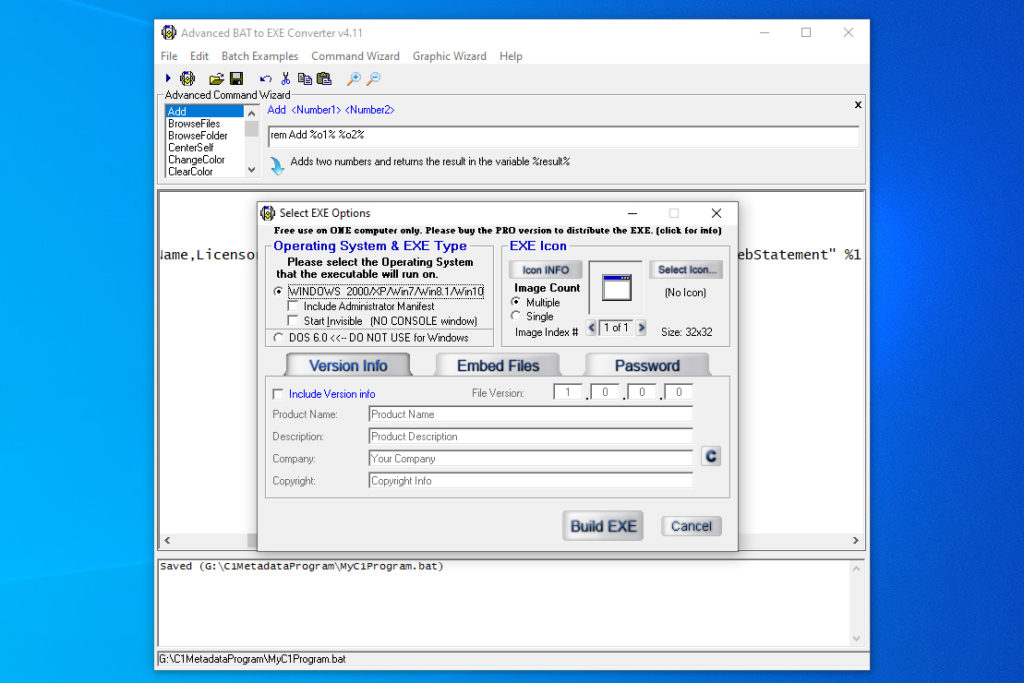
Now that the DOS command file is ready, we will use Advanced BAT to EXE Converter to create an executable version of it.
Go to File, Build EXE, and save the .exe in G:\C1MetadataProgram\MyC1Program.exe.
Call the new .exe Program from Capture One Pro
Open Capture One, select the image you want to apply the Google Image License too.
Go Output menu, where you export your images as JPEG or TIFF.
We will tell Capture One to open the droplet after the generation of the JPEG / TIFF output file and before in is saved in the Destination location.
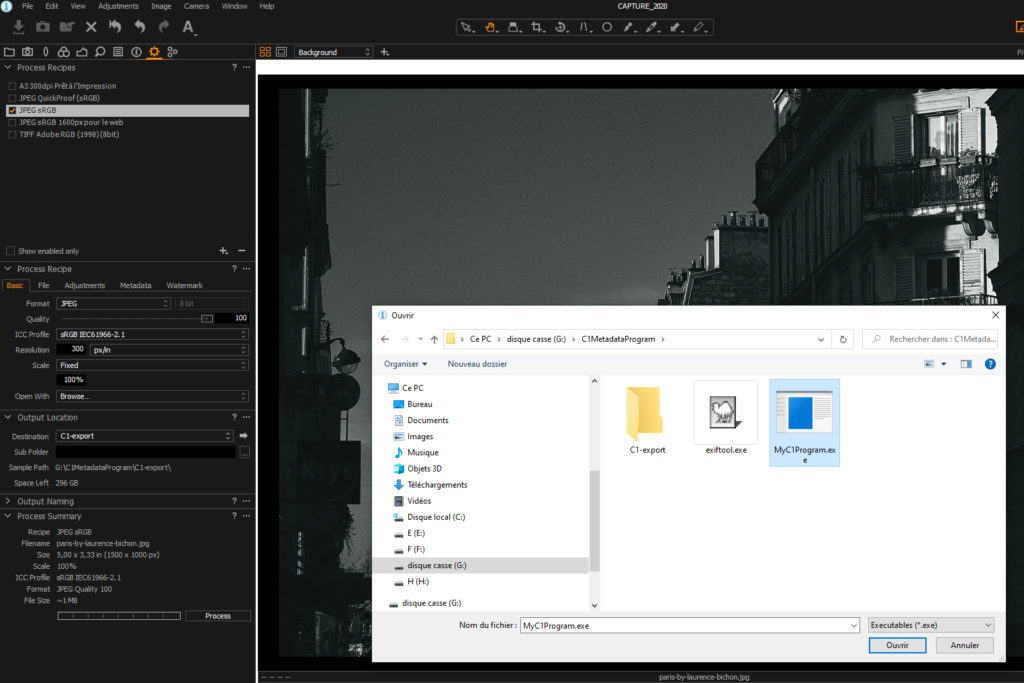
In the Basic tab, click on “Open with”. By default, it is set to “None”. Select “Browse” and navigate in your directory in order to select your MyC1Program.exe.
In our demo,
go to G:\C1MetadataProgram and select In our demo, go to G:\C1MetadataProgram and select MyC1Program.exe..exe.
Process the Image File. This will apply all Capture One Adjustments, then generate a .jpeg or .tiff file in the Destination Folder according to your Process Recipe, then apply MyC1Program.exe with your exported filename as a parameter.
MyC1Program.exe will then call Exiftool and update the image metadata.
Note that Exiftool always create a saved version of the original file when writing metadata. In the Destination folder, you will thet have for our example : paris-by-laurence-bichon.jpg and paris-by-laurence-bichon.jpg_original.
Here is a metadata reading exerpt with Exitfool of the exported image :
...
---- XMP-plus ----
Licensor Name                   : YourLicensorName
Licensor URL                    : YourLicensorURL
...
---- XMP-xmpRights ----
...
Web Statement                   : YourWebStatement
...
Conclusion
We inserted in Capture One the metadata Licensor, LicensorURL and WebStatement used by Google Image License.
Thank you for your visit.
If you wish to know more about metadata, you may want to read :
- The Photographer’s Metadata Survival Guide – In Depth Description
- How To Add A Copyright In Capture One Pro – In Depth Review
- 7 Ways To Edit Metadata in Capture One Pro
FAQ
About the _original file created by Exiftool
I citate Phil Harvey in Exiftool page : Writing Meta Information
“When writing information, ExifTool preserves the original file by adding ‘_original’ to the file name. Be sure to keep a copy of the original, or thoroughly validate the new file before erasing the original. (Read here for some ramblings on the subject of writing meta information.)”
Does the image file editing with ExifTool alter image quality?
Again I citate Phil Harvey in the Exiftool’FAQ : “ExifTool does not modify the image data itself, so editing a file with ExifTool is ‘lossless’ as far as the image is concerned.”.