
For a few years now, Capture One has been my photo editor. I love developping my pics in C1. But… why is it not possible to create borders around pictures with Capture One Pro ? How can I add a frame to my photos in Capture One ?
You can add a border to your images directly in Capture One Pro. In the Export menu, you will select a Photoshop droplet in the ‘Open with’ field. This droplet will call a Photoshop action which runs a java Adone Extendscript. This script creates the border around the image. I help you step-by-step and give you the java code in this post.
Until recently, I imported my RAW and JPEG in Capture One, developped them, exported them as JPEG, and then sent them to Photoshop only to add borders.
Of course, I did not add a border to each image one by one. I used batch processing : I selected the pictures in Adobe Bridge, then applied an action in Photoshop with Tools > Photoshop > Image Processor. This action added the frame in Photoshop thanks to the Nik Collection – Color Efex Pro 4 software.
This process works, but :
- I stored two JPEG : the JPEG exported from Capture One (no border), and the JPEG created with Photoshop (with border). This was a waste of disk space.
- This tiny Photoshop step took me time .
- I love Nik software, but when it adds a border, it puts it on top of the image, and not around it. So you loose part of the image, and you’ve got to deal with the location of your logo on the image as well, so it will not be partially covered by the frame. So I had to retouch manually several pictures each time.
In summary, this is how my border creation process used to be :
RAW/JPEG imports in Capture One -> JPEG -> batch processing in Bridge -> Photoshop action using Nik Collection.
Since I switched ove to Capture One, I’ve had this question on my todo list…
These days, I stay at home, so the good side of it is that I can work on it… In this post, I would like to describe to you my new one-step process to develop photos in Capture One and export them with a frame. I’m already using it in my production process for now.
How to export images with a frame from Capture One ?
My solution :
- Import RAW / JPEG in Capture One.
- When exporting the JPEG, Capture One automatically opens a small software.
- This software is a Photoshop droplet.
- This droplet runs a Photoshop action
- This Photoshop action runs an Adobe Extendscript Java script.
- This script enlarges the image’s canva by 105% on each side. The frame is the result of the black (or white) new pixels.
That’s the idea. I’m going to detail all of this step by step.
Video Tutorial
If you’d prefer written instructions, just keep reading.
Write an Adobe Java script
Adobe provides script APIs for Photoshop. I used some java code lines to wriie the script FrameScript.jsx that extends the canva of an image and fills the newly created pixels with black. Here it is :
// java script Adobe Photoshop CC
//
// FRAME CREATION (canva extension)
//
// Copyright Laurence Bichon photographe - All rights reserved
//https://www.laurencebichon.com
//
// This script is an example. For example, errors are not dealt with.
//
// Contact : contact@laurencebichon.com
//
//
var doc = app.activeDocument
var docResolution = doc.resolution  //given in px per inch
var docWidth =  new UnitValue (doc.width.as("px"), "px")
var docHeight =  new UnitValue (doc.height.as("px"), "px")

// trace easily with this functtion which opens a window
//alert(docWidth.toString(), "Width")

// Increase the canva by 105% on each side
// canva : +105% - black
var mycolor = new SolidColor();
mycolor.rgb.hexValue = "000000";
app.backgroundColor = mycolor;
doc.resizeCanvas(docWidth*105/100, docHeight*105/100, AnchorPosition.MIDDLECENTER)

// Un-comment the two following lines after the creation of
// the Photoshop action.
//doc.save()
//doc.close()
In this script, the border color we add to the image is “000000” in hexa which is black. If you’re wondering how to add a white border with Capture One, change “000000” by “111111”.
You may copy/paste this code in a .jsx file with wordpad. If you want to investigate further on these Adobe script API, here are :
- a syntaxic tool Adobe ExtendScript Toolkit CC
- the API documentations for Extendscript and the javascript library.
Create a Photoshop action
Prepare a test image, for instance I will refer to :
E:\JPEG\paris-by-laurence-bichon.jpg
Open your test image in Photoshop Photoshop.
Create a Photoshop Action FrameAction by recording the following dialog :
- File > Scripts > Browse and select file FrameScript.jsx in the folder E:.
- End of action recording.
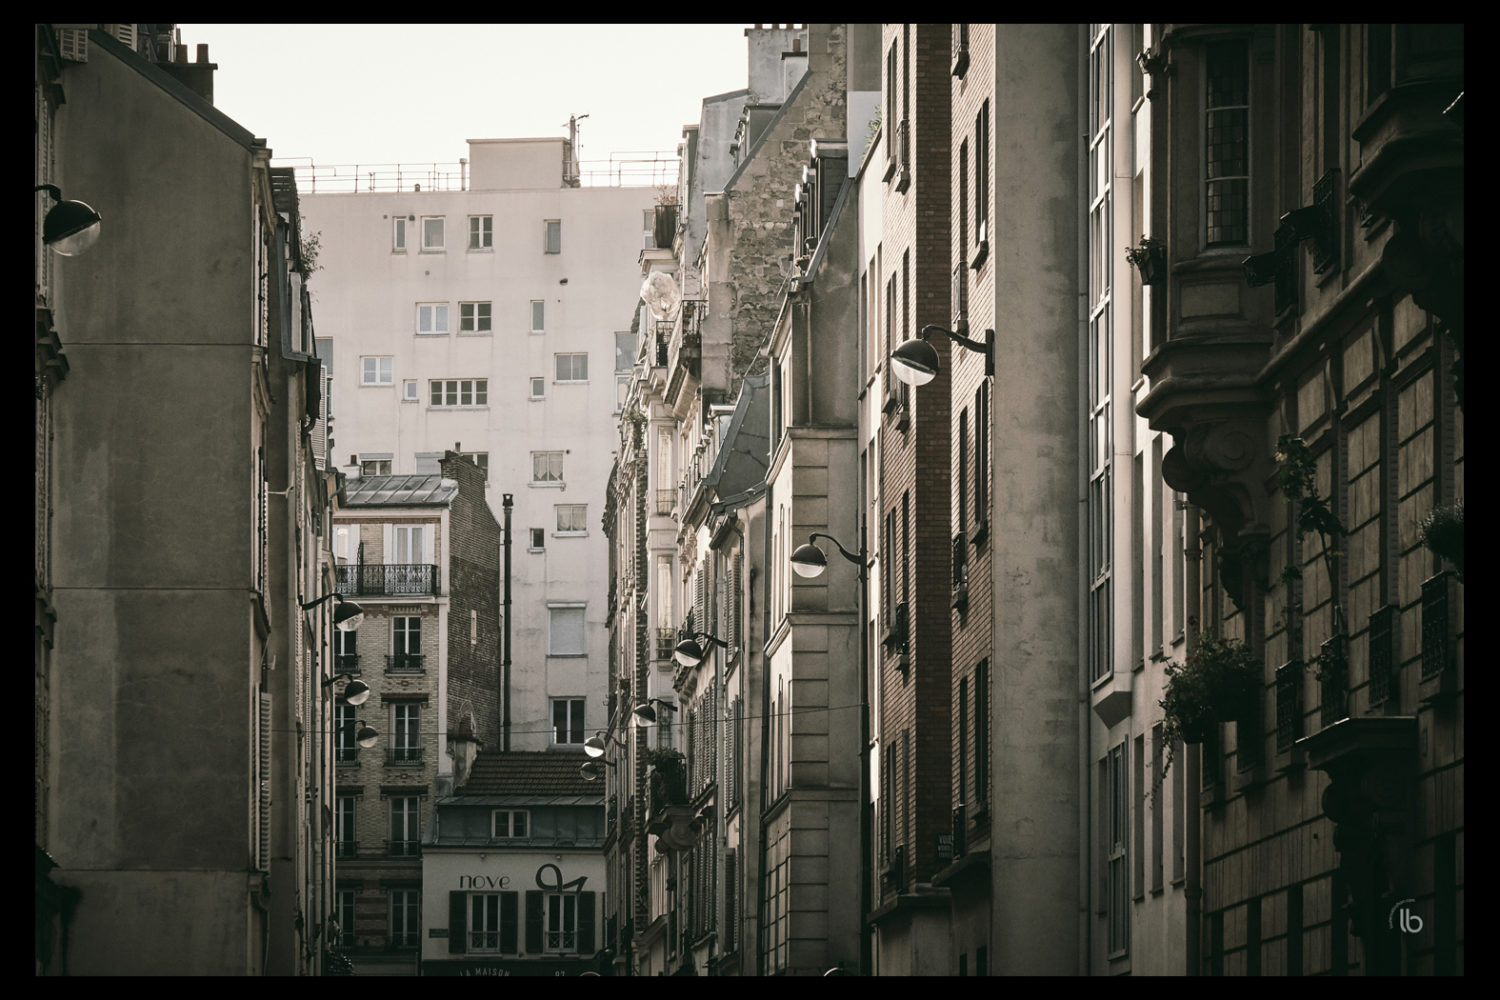
When you recorded this action, you ran the script on your image you opened in Photoshop. This will have increased its canva size and filled it with black. Here is below the expected result :
Update the java script
Uncomment the two last lines of the script FrameScript.jsx in oder to save and close the image after the frame creation.
//doc.save()
//doc.close()

becomes

doc.save()
doc.close()
Note : I first comment the lines in the script, then create the action then uncomment them. If I do not comment them, when you create the action, the image closes and you cannot terminate the action recording.
Create a Photoshop droplet
Create a droplet in Photoshop :
File > Automat > Create Droplet
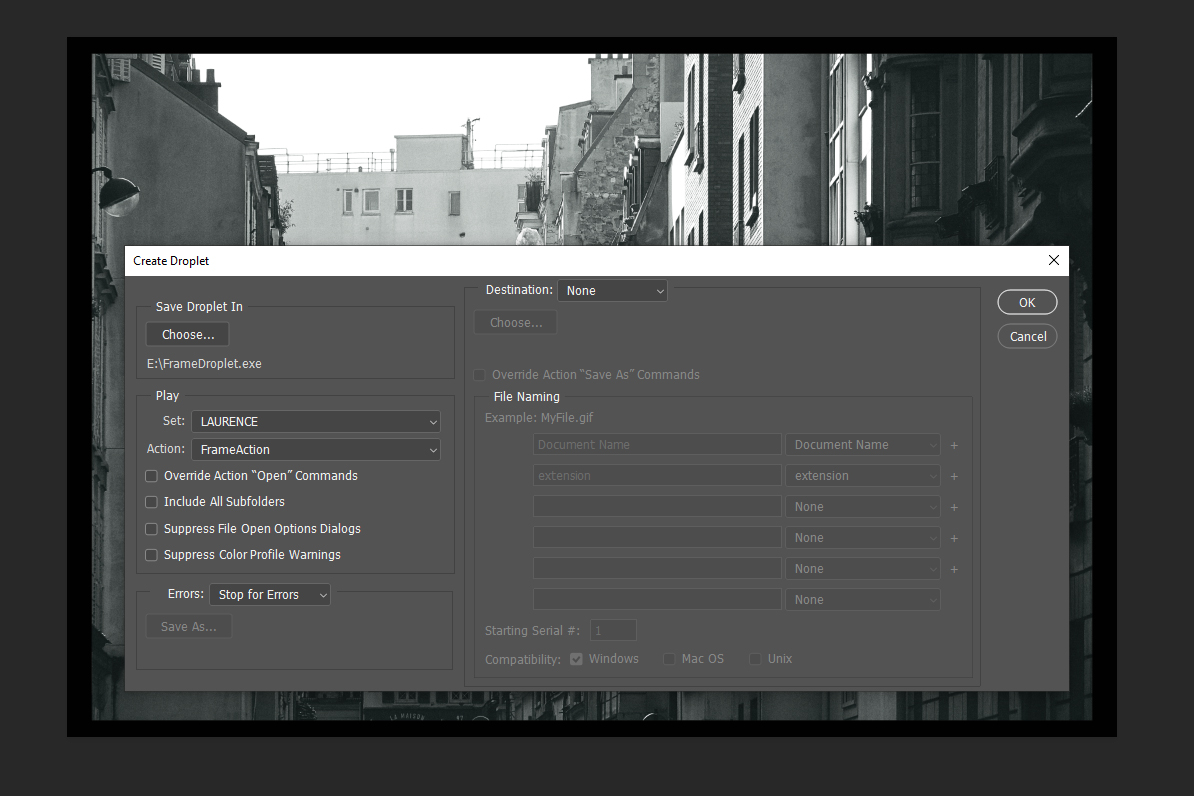
I name the droplet FrameDroplet.exe save it on E: for this demo.
In the droplet creation dialog box, you enter the Photoshop action that will be run whenever the droplet is started : FrameAction.
Add the droplet in Capture One
Go back to Capture One, in the Output menu, where you export your images as JPEG or TIFF.
We will tell Capture One to open the droplet after the generation of the JPEG / TIFF output file and before in is saved in the Destination location.
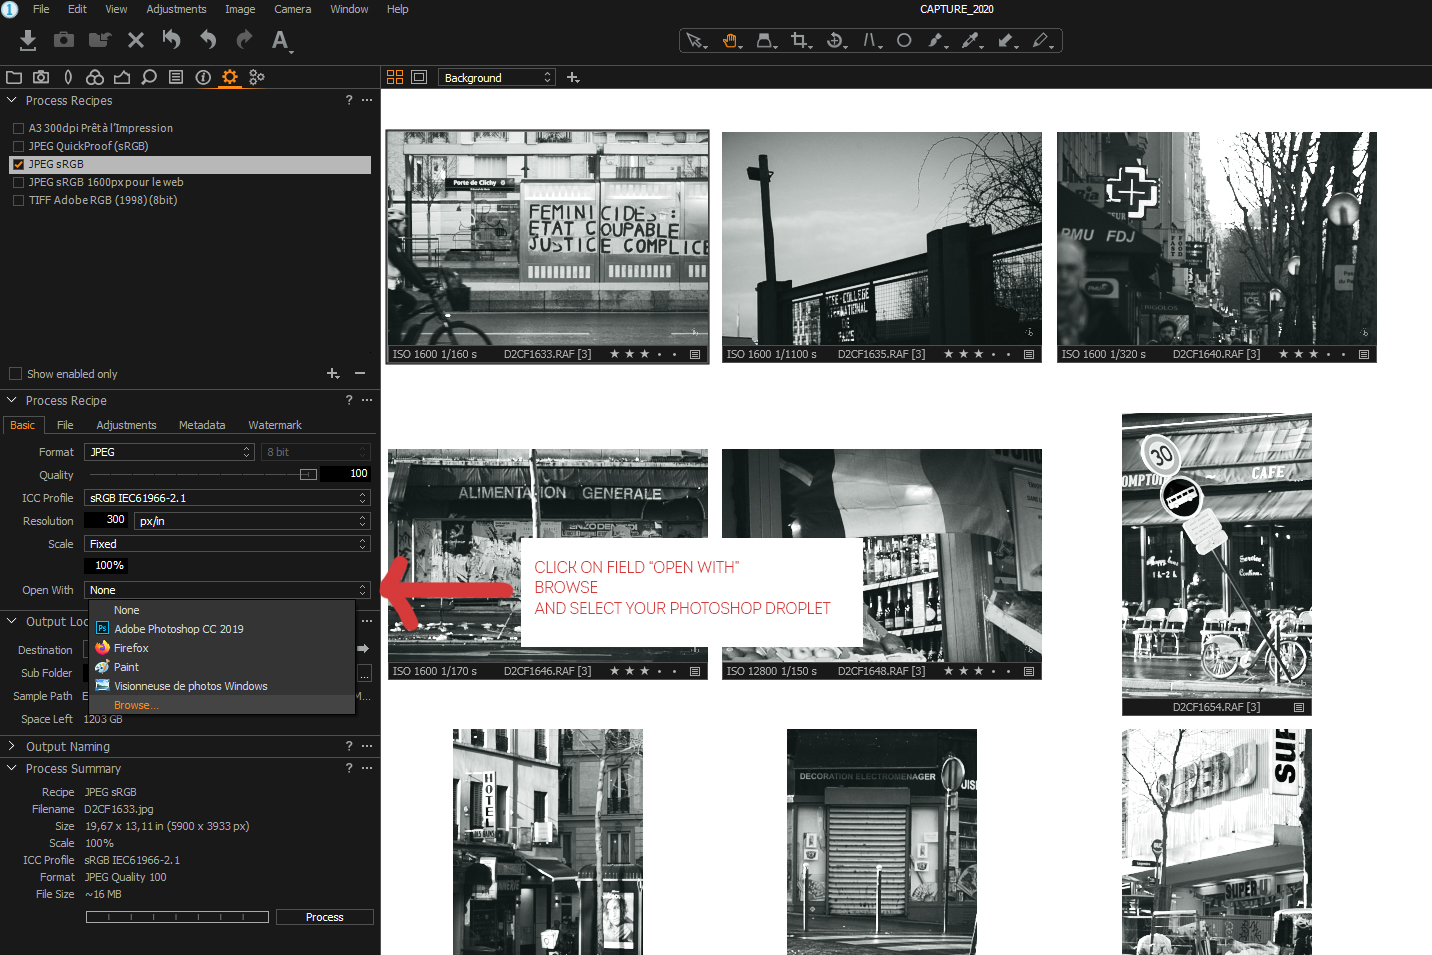
In the Basic tab, click on “Open with”. By default, it is set to “None”. Select “Browse” and navigate in your directory in order to select your Photoshop droplet. In our demo, go to E: and select FrameDroplet.exe.
All other fields are to be used as usual. Especially, enter the destination location of your exported files with Capture One > Output > Output Location > Destination.
Capture One will ally all your development settings to the image, generate a JPEG or a TIFF, then wall the droplet, then save the result in the “Destination”.
That’s it. You implemented the whole frame creation process.
Test the process
In this post, I described to you my new process for frame creation with Capture One Pro. I hope this will help you save time and get sooner ready for your next photo shoots !
Thank you a lot for your visit on my site, and I hope to see you soon !
I wrote other technical posts related to photo processing, web sites on wordpress or fujifilm cameras if you are interested in these topics.
Stay tuned.